7.8 Entering Payment Terms
|
|
The payment terms that you specify for dealing with
materials and parts vendors and service providers are entered into EZM Web. The payment terms are selected from drop-down
lists throughout EZM Web, and the only ones available to be selected are those
that you enter here. To get to the part
of EZM Web where you can enter the payment terms, use the Terms option
under the Utilities and Lists drop-down box on the left side of the
screen:
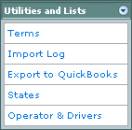
Fig 7.8-1 – “Terms” under the “Utilities and Lists”
drop-down list
Clicking on the Terms option will take you to the
following screen:
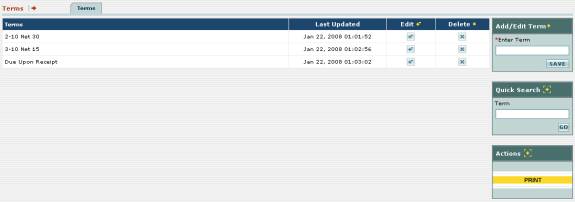
Fig 7.8-2 – Screen where you enter all of the payment terms
As you can see, all of the payment terms that you have
already entered are listed here:

Fig 7.8-3 – List of payment terms currently entered into
EZM Web
To enter a new kind of payment terms, first locate the Add/Edit
Term box on the right side of the screen:
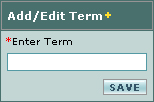
Fig 7.8-4 – “Add/Edit Term” box where you enter new
payment terms
Click inside the Enter Term box and then type the
new kind of payment terms you want to enter.
Then click on the SAVE button at the lower-right to add it to the
list of payment terms.
To edit an existing kind of payment terms, first locate
the payment terms in the list and then look to the right of it until you
encounter a ![]() button under the Edit column:
button under the Edit column:

Fig 7.8-5 – Column with edit buttons
Click on the ![]() button.
Notice that the Add / Edit Term box contains a box called Enter
Terms that fills in with the payment terms you want to edit (which in the
case of fig. 7.8-6 is “2-10 Net 30”):
button.
Notice that the Add / Edit Term box contains a box called Enter
Terms that fills in with the payment terms you want to edit (which in the
case of fig. 7.8-6 is “2-10 Net 30”):
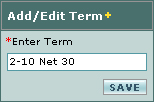
Fig 7.8-6 – Editing payment term in the “Add/Edit Term”
box
Click in the salmon-colored box and type to make the
desired changes to the payment terms.
Then click on the SAVE button.
The updated payment terms will be shown in the list.
To delete an existing kind of payment terms, first locate
the payment terms in the list and then look to the right of it until you
encounter a ![]() button under the Delete column:
button under the Delete column:

Fig 7.8-7 – Column with delete buttons
Click on the ![]() button.
The payment terms to the left of the delete button you clicked will be
deleted from the list.
button.
The payment terms to the left of the delete button you clicked will be
deleted from the list.
To print a list of all payment
terms entered into EZM Web so far, first locate the yellow-colored PRINT
button at the right part of the screen:
Fig 7.8-8 – “PRINT” button for printing the list of
payment terms
Clicking on the PRINT button will print the following
report:

Fig 7.8-9 – Report showing list of all equipment names